Parallax Occlusion Mapping

I always want to write my own implementation of this technique, and I did, this was some years ago now. Back in Unity 4.x. Loaded everything up again recently and it still works! Slightly proud of this one so thought I’d get some shots and put it all online, also decided to mix with some newer textures I made for a project in Substance Designer.
The main Siggraph paper I looked at for reference can be found here and I’ll be using some images in here to help explain what is going on in this shader.
I also used the sample textures and information from here.
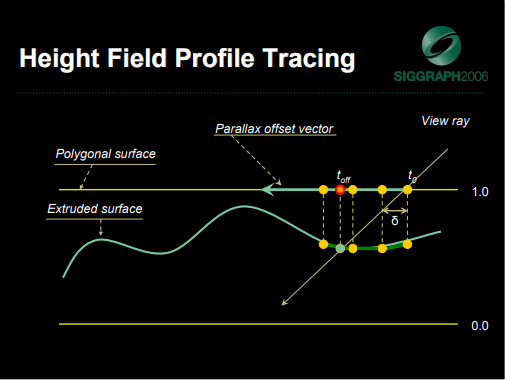
So as you can see here, the shader samples the height map and approximates the height from this information. Then we sample, as many times as is reasonable, across the parallax offset vector. We trace from the view vector, which is our ray vector in this case, intersecting the approximated height, this intersection returns the coordinates required to sample the texture that would be visible to the user.
Changing the sample rate for the most optimal result is key with each height map, as too low can cause this “slicing” effect as detailed in the above GIF.
I didn’t get around to implementing everything, one of those was the shadow mapping, I might give this a go soon. Check back for updates – I’ll make a blog post about adding shadows into this and update here.
In addition, it looks like the method I used to implement this ignores all normal information being updated. I’m going to look into adding this in very soon as well.
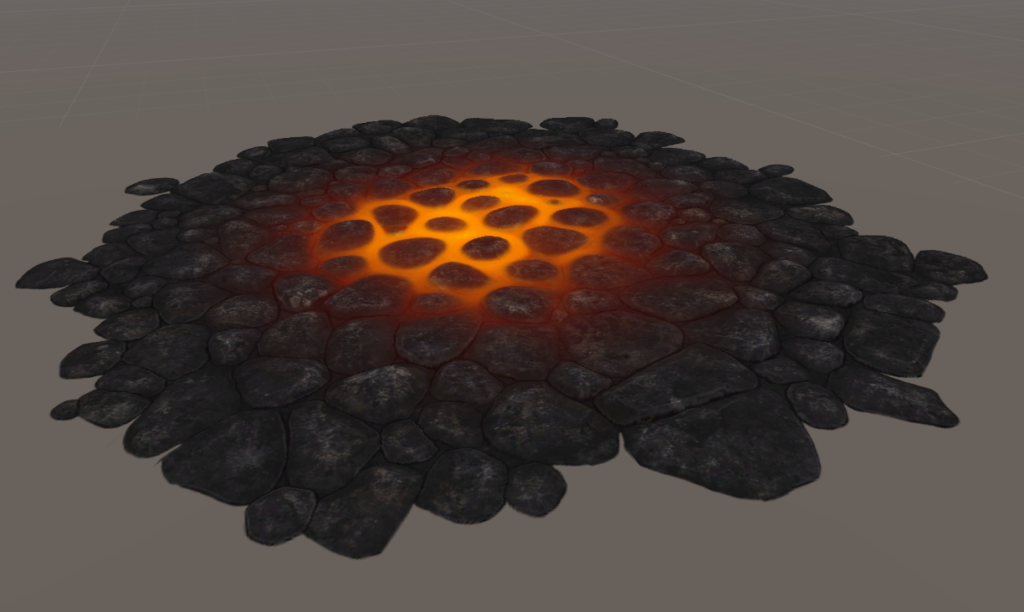
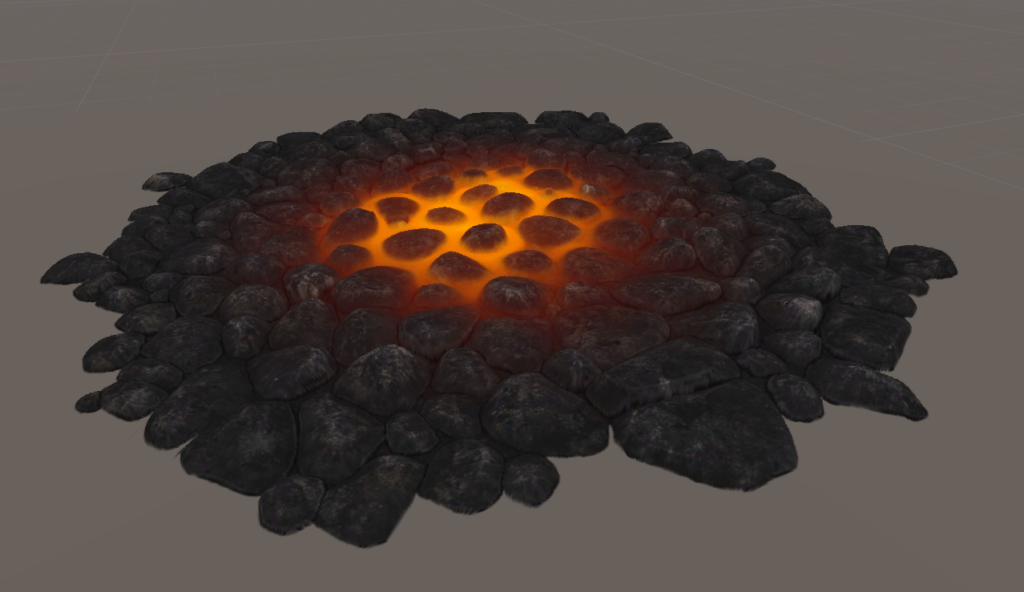
Left: Without Occlusion Mapping Right: With Occlusion Mapping
We can see how the rocks, especially in the foreground take on more form and give the impression of depth by overlapping each other.
Source textures for the rocks with alpha came from this website
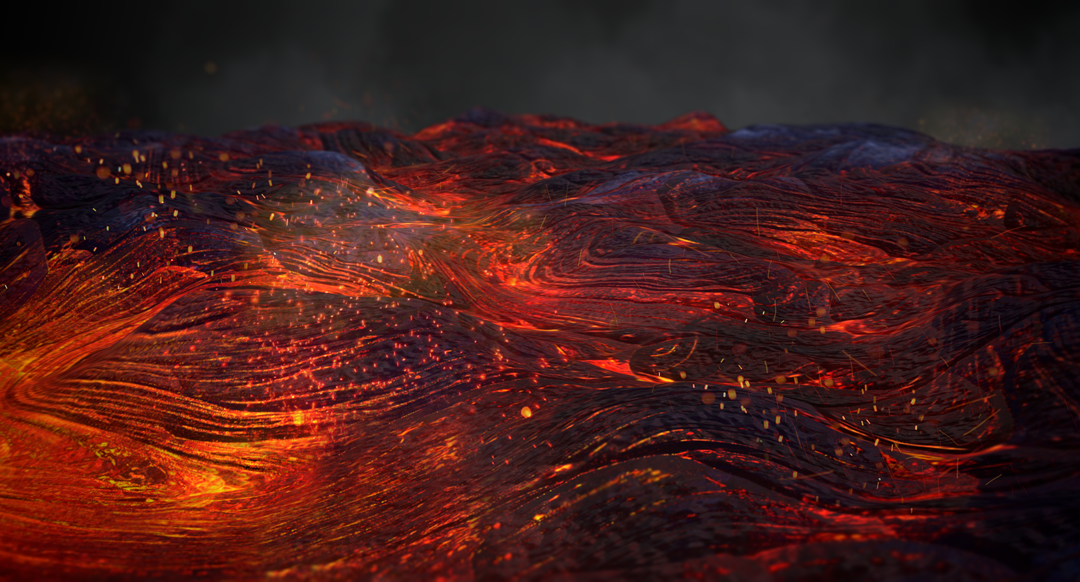
Another sample taken from a material I made in Substance Designer showing deformation on a 2D plane with a lava effect.